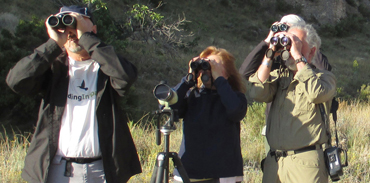
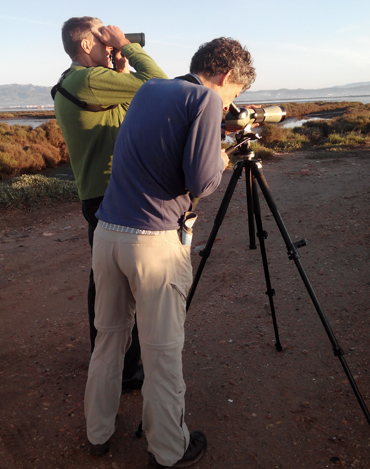
A familiar exchange betweeen birders in the field:
“Where? Where is it?”
“Well, see the green tree?”
“Which one? They’re all green!”
(Impatiently) “The one I’m looking at!”
How can we avoid this situation, where the birder-with-the-bird is giving poor indications to another birder-without-the-bird, and furthermore, the birder-without-the-bird is not making the right moves to line up and look in the right direction?
If you are interested in some tips about giving indications to other birders in the field, then read on…

Birding and finding the bird

Birding and finding the bird
Clockwork
- 12 o’clock is usually agreed to be “straight out” (ie from inside a car looking out the windscreen, from the shore looking out to sea, etc) and not “straight out from me” or “the direction I’m looking”!
- The direction you are trying to communicate is used by giving its relationship to the position of 12 o’clock. So for example, 3 o’clock will be at a right angle on the right, 9 o’clock will be at a right angle on the left, 6 o’clock will be behind you and opposite 12 ‘clock, etc.
- For more precision you can also use half hours, if the audience can take it. So for example, you can say between 1 and 2 o’clock, at about 1.30.
Landmarks
- Then, when you have people looking in the general direction, use land marks or more obvious features of the landscape, and come down, go up, etc. For example, “See the red and white mast in the distance? Come down a bit and then go one binocular width to the right of that”
- When giving indications look for descriptive markers in the foreground and the background, and not just on the same plane as the bird is on.
Distance with binoculars and fingers
- A binocular width is your field of vision when looking through binoculars. It’s not exactly the same for everybody, but gives an idea, especially when there are few features to use.
- Alternatively, and especially for “up” or “down”, try using “fingers” or “hands” to mark distances. You do this by fully extending your arm, closing one eye and measuring and communicating the distance between the objects with fingers or hands.
Look where I’m looking!
- And when someone is looking in a certain direction and trying to explain the position of a bird, don’t look in a different direction! It seems obvious, but you’d be surprised, it’s almost as if some people look at where they would like the bird to be! To help this process stand beside or directly behind the observer to try and get the same line of view.
- Watch and follow instructions with or without binoculars, according to what the observer tells you e.g. if he/she tells you to look without bins then do so!
- Avoid pointing using rapid and obvious hand movements, as most birds are sensitive to this, don’t like being watched and may feel that they can be harmed. This may make them fly off.
- If the bird is moving in one direction call a point just ahead of where it is going to be.
- Be willing to help others in the group, it will make the guide’s job much easier, gives everyone a chance to see the birds, and frees time to see more birds.
- Make sure the starting point is clear to all: if you get the wrong bush/rock/tree from the beginning it will be very hard to get on your mark.
- Acknowledge when you see/can’t see the bird, when you have followed instructions successfully or not, so that your guide knows if you’re on the same page.
- Laser pointers are of great use in the tropics, but less so in open steppes, or wetlands. When using them be sure not to shine them on the birds themselves, but rather focus the point below, to the right/left of or above the bird.
And of course, may the birds be with you!
Leave a Reply